Install Wooden Fence: Step-by-Step Guide for Homeowners
Installing a wooden fence can improve your privacy, increase your property value, and define your space with character. Whether you’re fencing in a backyard, enclosing a garden, or replacing an old structure, this guide walks you through the full process—from planning to post-installation tips. If you’ve ever searched for a “wooden fence installation guide” or wondered “how to install a wooden fence”, you’re in the right place.
Let’s get started.
Materials and Tools You’ll Need
Before digging your first post hole, gather the essential materials and tools. Quality upfront makes the job smoother and the fence more durable.
Materials
- Pressure-treated wood fence panels or pickets
- 4×4 wooden posts (treated)
- Concrete mix (quick-set or regular)
- Gravel (for post drainage)
- Screws or galvanized nails
- Fence rails (if building from pickets)
- Fence post caps (optional but protective)
Tools
- Post hole digger or auger
- Level
- Tape measure
- Power drill or hammer
- String line and stakes
- Circular saw (if custom cutting)
- Wheelbarrow and shovel (for concrete)
- Safety gloves and goggles
Step 1: Plan and Prepare
Mark Your Fence Line
Use stakes and string to outline where your fence will go. This helps visualize spacing and ensures straight lines. Check local zoning rules for setback requirements or height limits.
Check Property Lines and Utilities
Confirm your property boundaries using a survey or official plat map. Call 811 or your local utility locator before digging to avoid underground lines.
Decide on Fence Style
Are you installing full panels, or building custom picket by picket? The style impacts how you space posts and assemble the structure.
Step 2: Measure and Set Post Locations
Measure Post Spacing
If using premade panels, spacing is usually 6 to 8 feet. If building from scratch, 6 feet is a safe rule of thumb for post strength.
Mark Post Holes
Mark each post location using spray paint or a stake. Keep spacing consistent. Double-check that corner and end posts are positioned correctly.
Step 3: Dig Post Holes
How Deep Should Fence Posts Be?
As a rule: 1/3 the total post length goes underground. For a 6-foot fence, dig 2-foot-deep holes. Holes should be 10–12 inches wide.
Add Gravel for Drainage
Pour 4–6 inches of gravel into each hole. This prevents water from sitting at the base of the post and causing rot.
Step 4: Set the Fence Posts
Mix and Pour Concrete
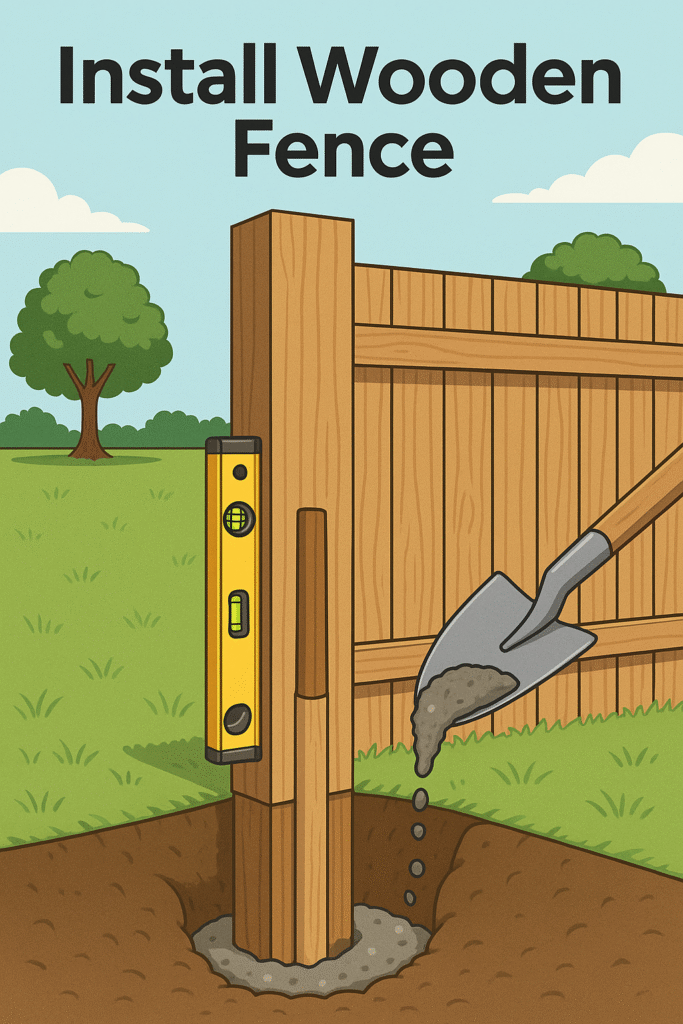
Mix your concrete (quick-set makes the job faster) and pour it into each hole around the post. Use a level to ensure the post is perfectly vertical.
Let the concrete cure. For quick-set, that’s usually 20–40 minutes. Full cure may take 24 hours.
Pro Tip: Brace the Posts
Use scrap wood to brace each post while it sets. This keeps everything aligned and prevents leaning.
Step 5: Attach Rails or Panels
If Using Fence Panels
Simply attach panels to the posts with screws. Make sure each panel is level before securing it fully.
If Using Individual Pickets
Install horizontal rails first—usually two for shorter fences, three for taller ones. Then attach pickets, starting at one end and spacing evenly.
Use a spacer block to maintain uniform gaps (typically 2–3 inches).
Step 6: Add Finishing Touches
Install Post Caps
Caps protect the tops of posts from rain and UV damage. They also give your fence a polished look.
Apply Stain or Sealant
Treat the wood with a weather-resistant sealant or stain. This boosts lifespan and prevents warping, cracking, or rot.
Tips for a Stronger, Cleaner Fence
- Use galvanized fasteners to prevent rust.
- Let wood dry before staining—pressure-treated wood can be too moist at first.
- Check level frequently as you build to keep things aligned.
- Avoid digging in wet soil, which can collapse and ruin hole integrity.
Common DIY Mistakes to Avoid
- Skipping the property line check: Could lead to disputes or legal trouble.
- Shallow posts: A 6-foot fence needs at least 2 feet of depth to withstand wind and wear.
- Uneven spacing: Causes panels to misalign or lean over time.
- Not sealing the wood: Reduces lifespan dramatically.
Frequently Asked Questions
How long does it take to install a wooden fence?
A small backyard fence (50–100 feet) can take 1–2 weekends for a solo DIYer. Add more time for custom builds or large properties.
Can I install a fence without concrete?
Technically yes, but concrete gives better support and longevity. Gravel-only installations are more prone to shifting.
What type of wood lasts the longest?
Cedar and redwood resist rot naturally. Pressure-treated pine is cost-effective and also lasts well with sealing.
What if a section of my wooden fence breaks later?
You can often replace just that section. If you’re unsure how to approach wooden fence repair, it might be time to call a professional.
When to Call a Professional Wooden Fence Installer
Installing a wooden fence is a doable DIY project—but not always the right call for every homeowner. If your yard has tough soil, steep slopes, large tree roots, or if you’re working on a large perimeter, professional help can save time and ensure durability.
If you’re looking for a trusted wooden fence installation or repair service, you can call 877-521-3436. They offer reliable workmanship and can handle everything from layout to finish.
Final Thoughts
Whether you’re fencing in a garden or adding privacy to your yard, a well-installed wooden fence can transform your outdoor space. With the right planning, tools, and patience, you can build a fence that looks great and lasts for years. But if the job gets overwhelming, don’t hesitate to bring in a pro. Sometimes, peace of mind is worth the call.